
Remove a Distracting Prop or the Whole Background? Choose the Right Edit
When a product photo contains an unwanted object, decide what must remain before editing. If the setting is useful and only one prop is distracting, an object eraser may be the better starting point. If the product needs to be isolated for a new background or catalog layout, background removal addresses a different task. Neither tool decides whether a visible item is included in the sale.
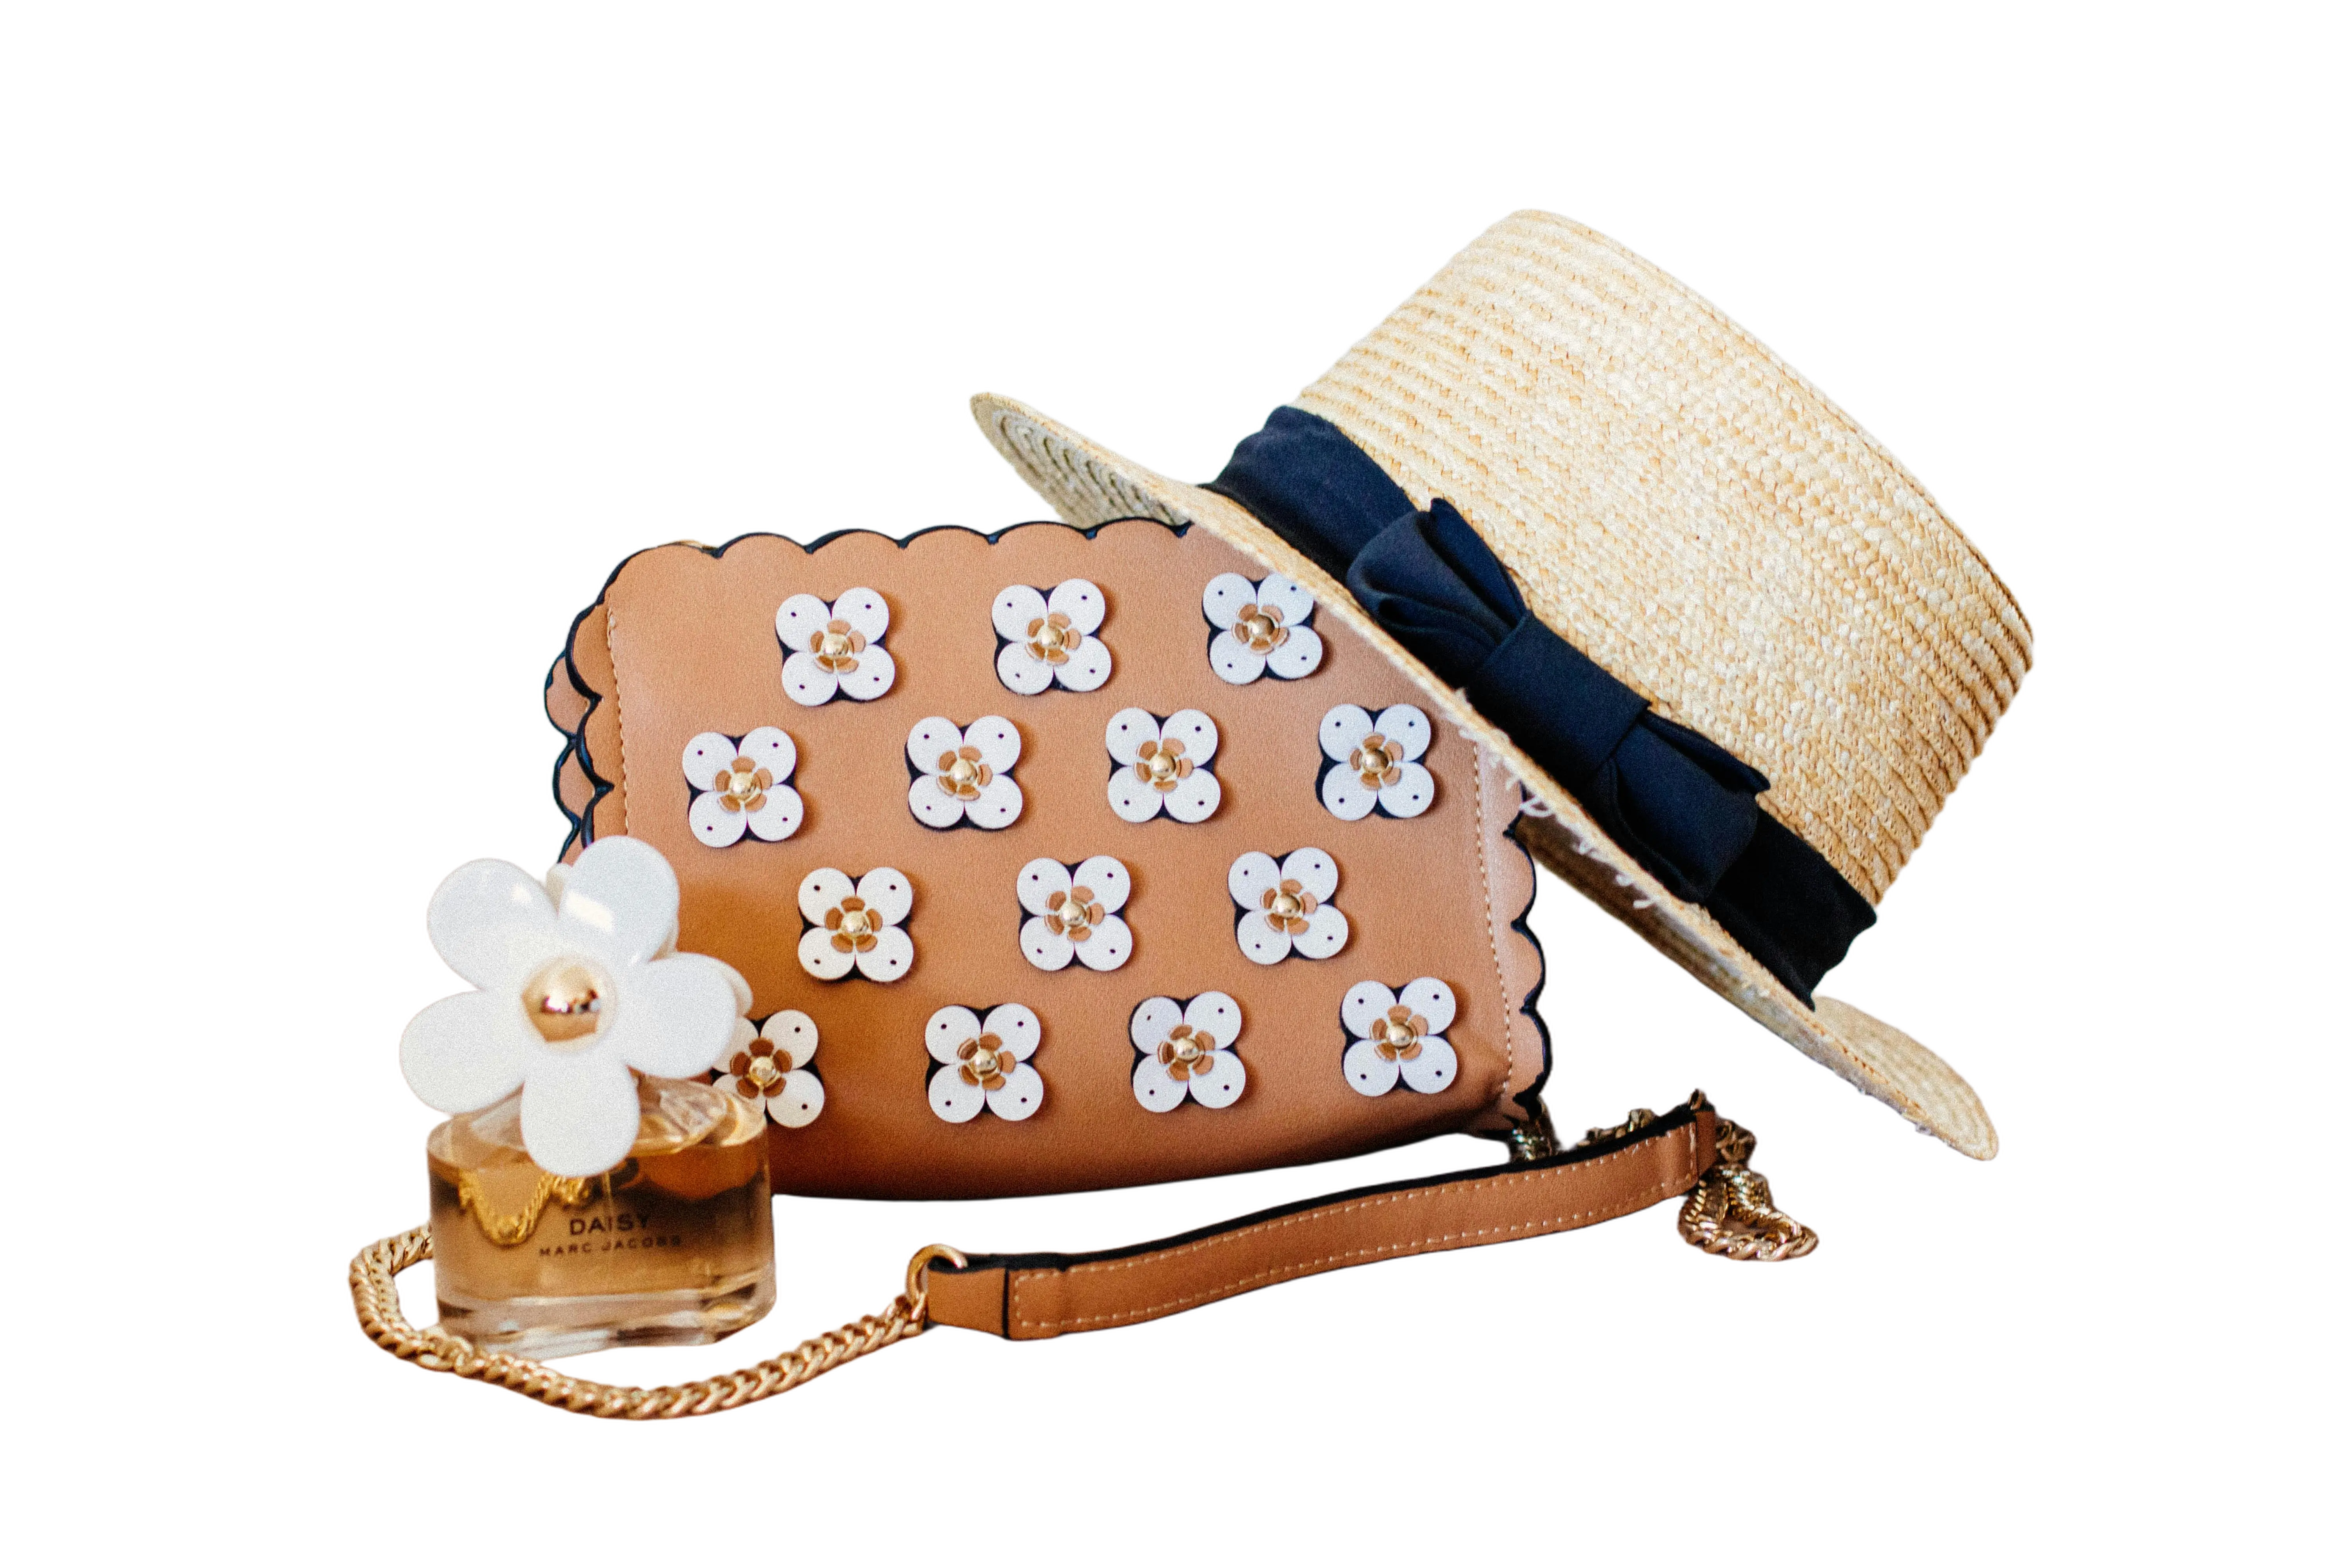
Official background-removal example. This is an illustration of an isolated foreground, not a test of object erasing or a statement about what a product bundle contains.
Make an inventory of the scene
Mark the product, included accessories, packaging, props, shadows, and background. A cable, lid, or strap may look like clutter but still be part of the item being sold. Compare the photograph with the approved product record. If the listing needs to show package contents, do not remove an item merely to make the frame cleaner.
Keep the original photo. Work on a copy so that a reviewer can compare the edited result with the full scene.
Use object erasing for a local distraction
PicTech AI Magic Eraser describes brushing over an unwanted area so the surrounding background can be rebuilt. It can be appropriate for a small prop or stray mark when the rest of the scene should stay. Select only the intended object and inspect the repaired area at full size. Repeated textures, reflections, and edges near the product deserve close attention.
Do not erase a feature, safety label, or included accessory. If the object overlaps the product, check whether a different source photograph is safer than reconstructing that region.
Use background removal for a reusable cutout
PicTech AI Background Removal separates a foreground subject from its background. This is useful when the product needs a transparent cutout or a separate white-background version. Review thin handles, transparent surfaces, and the contact shadow before placing the cutout on another color. A clean silhouette in the editor may reveal a pale fringe on a darker destination background.
If several foreground objects must remain together, inspect each one after processing. The tool cannot know from a photograph which objects are actually included in the sale.
Approve the file in its destination
Compare three versions: original, exported edit, and actual storefront preview. Check that required items remain, the product shape has not changed, and the new background does not make the edge or shadow look misleading. Record the SKU, image purpose, and approved revision.
Decision checklist:
- Keep the setting, remove one distraction: test a local erase.
- Need a transparent or replaceable background: test a cutout.
- Unclear whether an object is a prop or included item: confirm the product record first.
- Result hides a feature or changes the product: return to the original or reshoot.
This workflow is a way to choose and review an edit. It does not claim that any tool will produce a flawless result on every photograph.