
How to Make a Side-by-Side Review Sheet for Translated Product Images
Put the original and translated versions of the same product image next to each other, label them clearly, and keep the full resolution files nearby. A review sheet helps a teammate point to the exact place that needs a fix. Use it to review one image at a time; upload the approved localized image to the storefront separately.
1. Match the two files before arranging them
Check that both images show the same SKU, variant, and source revision. Keep the approved source wording or product specification available. If a supplier sends a newer source halfway through the translation, replace the source in the comparison and review the affected regions again.
Use a consistent order: source on the left, localized version on the right. Add the target locale and revision beside the image rather than on top of the artwork. In a narrow review window, stacking the two images is fine if the labels make their order unmistakable.
2. Make differences easy to see
Give both panels comparable display sizes without stretching the images. Keep the full frame visible first. If one image has been cropped or the layout moved, mark that difference rather than forcing the two crops to line up. Add a separate pair of close-ups when the whole image is too small to show a label clearly.
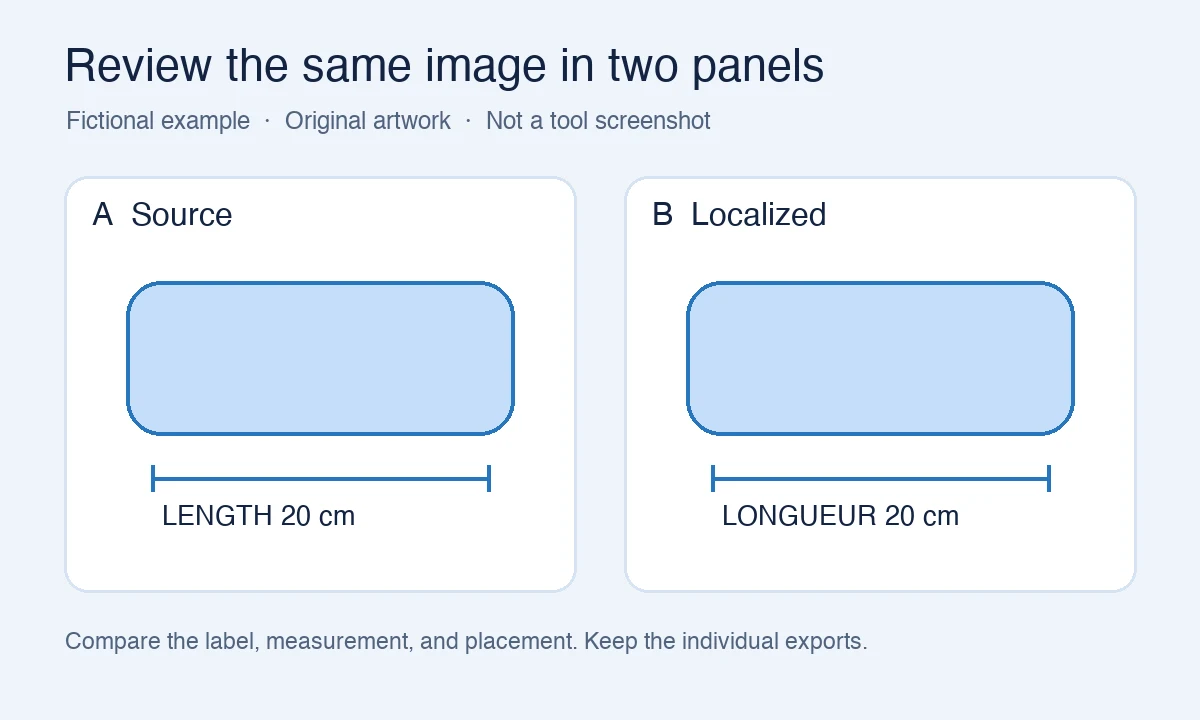
The diagram uses invented artwork and wording to show how to label the panels. It is not a translation result or a tool screenshot.
The PicTech AI Image Stitcher lets you arrange images and download a combined file. Use it to assemble the comparison after you have chosen the right files. For the text translation and layout editing workflow, see Image Translation. Neither tool approves the product facts on the team's behalf.
3. Give each correction an address
Number the regions a reviewer should inspect. Keep the labels outside the text they refer to. Instead of asking for “a better translation,” describe the panel, region, evidence, and desired correction.
For example: “Localized panel, region 2: the note must say the length is measured with the lid closed. See the approved specification.” That gives the editor both the location and the reason. If the reviewer cannot confirm the measurement condition, send the question to the product owner before adjusting the image.
Use the sheet to check two things separately:
- Content: headings, numbers, units, qualifiers, and whether each label describes the right product feature.
- Presentation: line breaks, text contrast, overlap, and whether the smallest necessary text remains legible in the actual listing.
4. Keep approval attached to the individual export
After corrections, reopen the downloaded localized image on its own. Check the actual storefront preview and record which file and revision passed review. A clean comparison sheet can still contain an outdated localized export, so confirm the approved file name before uploading.
Keep the sheet with the review notes, not in the upload folder. If you cannot make the details legible in a combined image, share the source and localized files separately with numbered references. The useful deliverable is a clear correction and an approved export, whether or not the team uses a comparison sheet.
By the PicTech Team. Official feature references checked on November 11, 2026. This article describes an editorial review workflow and makes no performance or accuracy claim.