
Translating Before-and-After Product Images: Keep the Comparison Conditions Visible
When localizing a before-and-after product graphic, translate the conditions and qualifications together with the headline. Keep each label attached to the correct photo. A translated comparison should let a shopper understand what changed, how the images were made and which conditions apply to the example.
Establish what the two photos show
Ask the person responsible for the product content to identify the source of each photo. Record which one is the starting condition, which one is the later condition, and whether they show the same subject. Keep any confirmed information about elapsed time, preparation and lighting with the source files. If that information is missing, get it before adding an explanation to the image.
For example, a cleaning demonstration may show one surface photographed before cleaning and the same surface photographed after an approved procedure. The localization reviewer needs the actual procedure and any required qualification. A clear image alone cannot establish which product, amount or method produced the result.
Review the labels as one comparison
Create a short text checklist containing the headline, both panel labels, the time statement and any footnote. Translate the set together so words such as “before,” “after,” “example” and “under these conditions” keep their intended relationship. Check that a qualification applying to both panels remains visually connected to both.
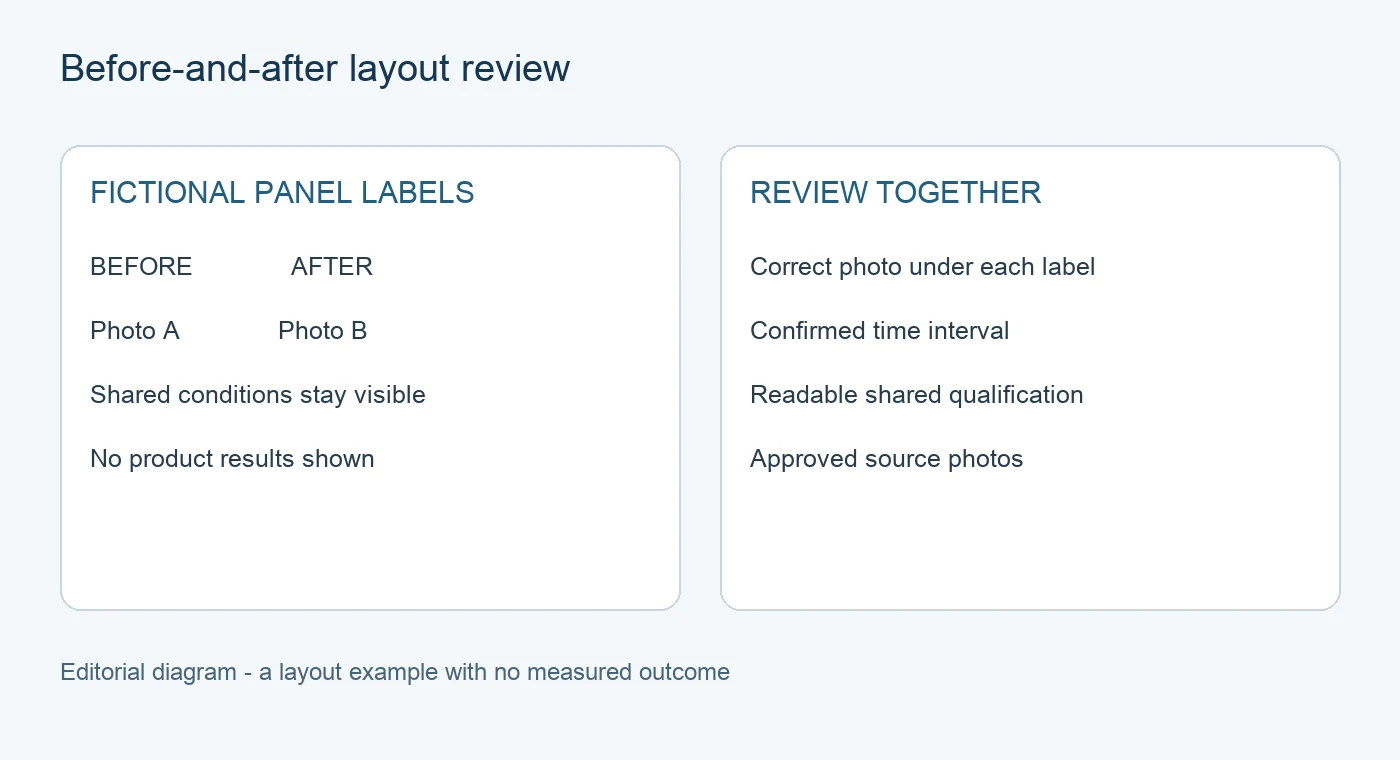
The illustration above is an editorial layout example. It contains no demonstration photos or measured product results.
Preserve the relationship between text and photos
Keep the approved source photos in place while reviewing the translation. A longer translated label may need more room. Make space in the caption area and check the full comparison again if panels are rearranged. Confirm that the label above each photo still identifies that photo and that the shared note remains legible.
The PicTech image translator can help replace image text. In the editor, review translated wording, spacing and the areas around the photos. Keep original files available for comparison, especially where small qualifications share a textured background with the photograph.
Check the strength of the wording
Compare the translated headline with the approved statement. A limited demonstration should retain its stated scope. If the source describes one example, preserve that wording. Have the product owner resolve any missing condition or unsupported statement before preparing the final listing image. Translation review does not supply evidence for a product claim.
Avoid retouching the comparison to make the effect appear stronger. Review whether cropping has removed an important detail or whether a changed label now implies a different time interval. These are content approval questions even when the translated sentence reads naturally.
Review the downloaded file at listing size
Use the original and exported image side by side. Read every panel label and qualification at the size shoppers will see. Check that footnotes remain readable after upload and that the surrounding product page describes the same example. If the page generates a smaller preview, inspect that version too.
The PicTech user guide describes text editing, original-versus-result comparison, saving and export. Save the reviewed task, download the export, and open the downloaded file for the final inspection. Keep the approved wording, source photos, conditions and exported revision together so a future update can be reviewed against the same evidence.