
Translating Bundle Photos: Show What Comes With Each Product Variant
A bundle photo should tell shoppers what they will receive when they select a variant. Start with the approved contents for that SKU, then match every visible object and translated label to that record. Put the distinction between included parts and optional extras where shoppers can read it in the image gallery.
Build the contents list before translating
Write down the base product, quantities, included accessories, and optional add-ons for each variant. Use the current packing list or product specification. If the supplier photo shows more items than the packing list, ask the product owner to identify each one before approving the localized image.
A photo of a fictional desk organizer, for example, could show a tray, two dividers, and a lamp used to set the scene. The base variant includes the tray. A kit adds the dividers. The lamp is a display prop. A single caption such as “Everything you need” leaves the contents unclear when both variants share the same image.
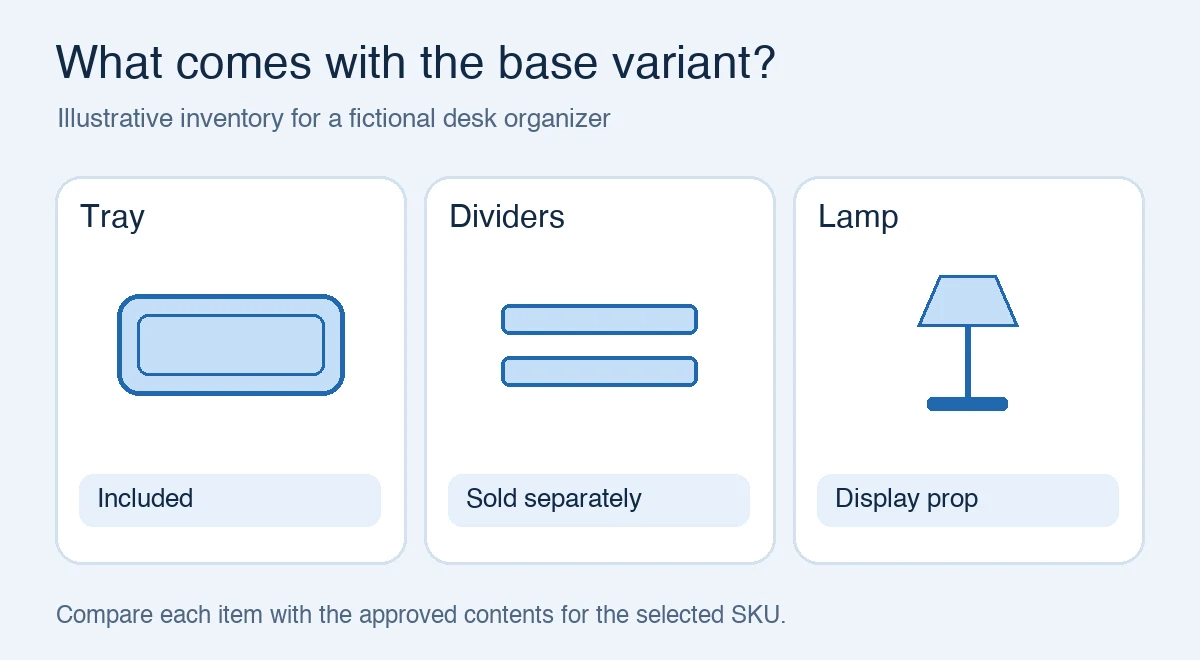
Attach the right words to the right objects
Choose a short label for each role. “Included with this kit” belongs next to the dividers on the kit image. On the base variant, “Dividers sold separately” gives the shopper a different answer. Put the text beside the part it describes, especially where several small objects sit close together.
PicTech AI’s image translation page describes recognizing and translating text in an image and adjusting the resulting layout. Use those controls to check that the translated labels stay near the right objects. Confirm the contents and quantities against the packing list before saving the image.
Choose a gallery image for each buying decision
The main bundle image works best when the visible contents match the selected offer. A separate lifestyle photo can show the product in context. If a prop could be mistaken for a purchase item, choose a clearer photo or keep the distinction legible wherever the photo is shown.
Open each variant preview and check which image the storefront displays. A correct kit image can still mislead when a base variant inherits it. Record the image ID or filename, the SKU, and the approved localized revision so another editor can reproduce the check.
Check the export at the size shoppers will see
Open the downloaded image and review it at both full size and gallery size. Confirm that all included parts are visible, that quantity labels match the product record, and that optional extras are identified clearly. If the gallery crops an essential label, reposition the label or use a clearer frame before publishing.
For the editor and export workflow, see the PicTech AI user guide. Keep the source image and the approved contents list with the localized export for the next catalog update.
By the PicTech Team. Official feature references checked on November 12, 2026. The organizer and its contents are fictional examples.