
Translating Warranty and Return Claims in Product Images: A Review Checklist
A translated product graphic can preserve its layout and still misstate the offer. Warranty periods, return windows, exclusions, and the destination for support should come from the approved policy for the target market. Translate the image only after those terms are confirmed, and compare the final export with the actual listing before publication.
Separate the policy from the picture
First, make a small source record for each claim in the image: the original wording, the product or SKU, the market, the policy owner, and the page where the current terms appear. A label such as “30-day returns” cannot be approved from the image alone. The storefront may apply different conditions to a discounted item, a region, or a product category.
Do not turn a vague source phrase into a stronger promise to make the translation sound natural. Likewise, do not remove a qualification because it is difficult to fit. Ask the person responsible for the offer to approve any change in meaning.
Review the claim as a whole
Read the headline, numbers, units, footnotes, and nearby icons together. “Two-year warranty” and “up to two years of warranty” are different claims. A small asterisk may connect a prominent promise to a condition at the bottom of the graphic. Keep that relationship visible after translation.
For a hypothetical graphic with a warranty badge and a support address, the review record might include:
| Element | Check against the approved record |
|---|---|
| Duration | Number, unit, start date, and qualifying words |
| Coverage | Which product or components are included |
| Exclusions | Conditions, footnotes, and market restrictions |
| Contact | Correct support page or address for the target market |
| Placement | Whether the qualification remains legible beside the claim |
This is an editorial example, not a test of a real product or a statement of PicTech AI's own warranty policy.
Translate and inspect every text region
PicTech AI's image translation tool describes text recognition, translation, removal of source text, background reconstruction, and an editor for adjusting the layout. Use the output as a working image. It cannot decide whether a commercial promise is valid for the destination market.
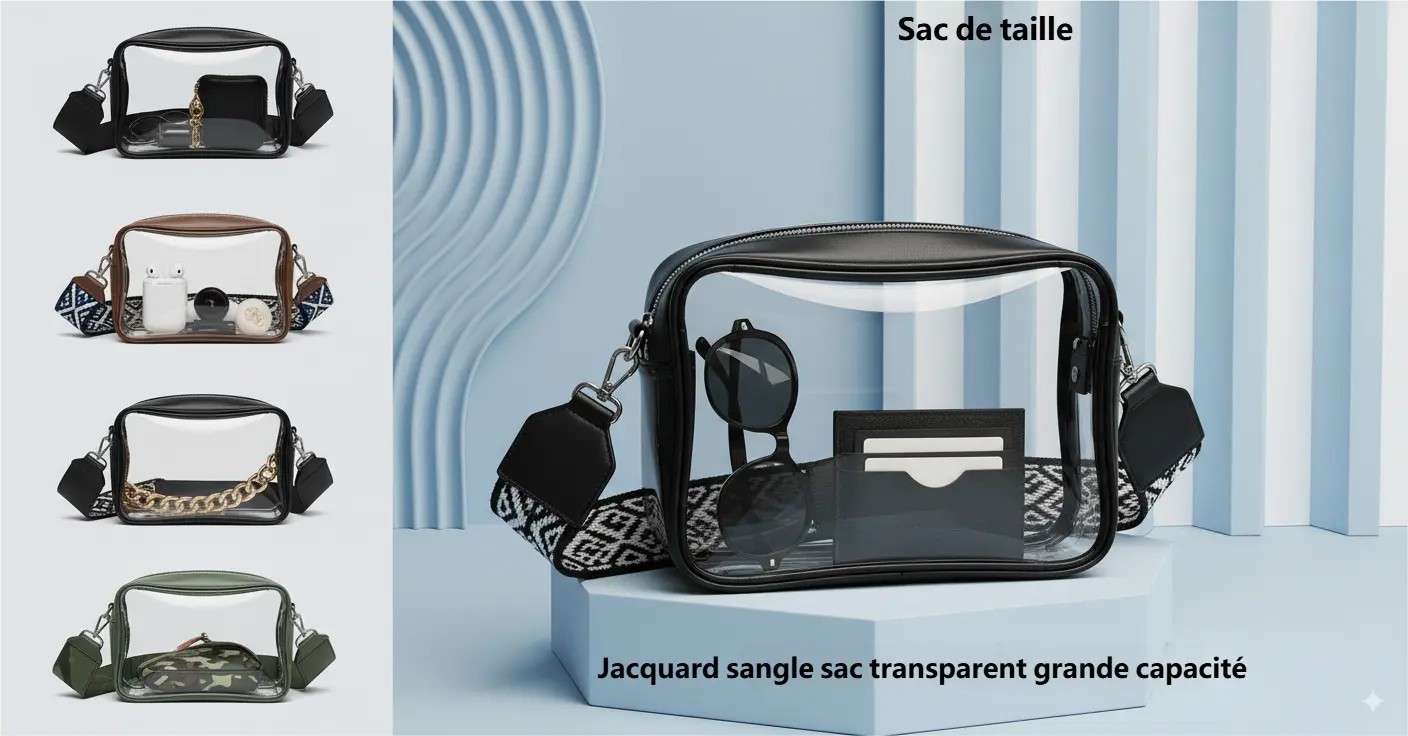
Compare the original and translated image at full size. Circle every text region that contains a policy claim. Check for missing small print, altered numbers, awkward line breaks, or a footnote that has moved away from the badge it qualifies. A correct translation can still mislead if the condition becomes too small to read in the final placement.
The image translation guide also recommends reviewing product names, numbers, units, and the exported image before posting. Treat that review as a separate approval step, not as a feature the tool performs on behalf of the seller.
Verify the export against the destination
Save the approved export with its SKU, market, and revision. Open the actual product page or campaign preview and compare its written warranty and return terms with the image. Check the support link or contact shown in the picture. If the offer has changed since the source image was produced, update the wording and image together.
Before replacing a live asset, ask five questions:
- Does every time period and condition match the approved market policy?
- Are footnotes and exclusions complete and readable?
- Does the claim apply to this product and variant?
- Does the image point to the correct support destination?
- Does the storefront say the same thing as the image?
If any answer is uncertain, hold the image for policy review. A polished translation is useful only when the promise it communicates is accurate.
By the PicTech Team. Product feature pages checked on November 9, 2026. This article describes a review workflow and makes no claim of a measured translation result.